

By Sheri Branson | Photos By Rhesa for TLP
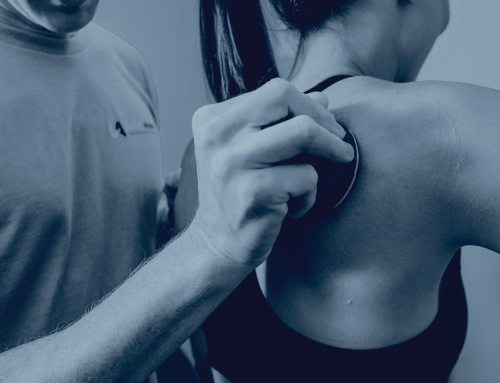
Self-myofascial release (SMFR) involves applying gentle pressure to connective tissue to help create tissue mobility. Our muscles can become chronically tight due to repetitive movements such as running, cycling, yoga, swimming, or strength training. This can cause the tissue to become thickened and inflamed setting us up for injury.
By regularly practicing SMFR, we can improve our connective tissue surrounding muscle and decrease our risk for injury. Systematic reviews conclude that SMFR can be a valuable tool for athletes and the general population to increase flexibility and decrease muscle soreness post exercise to enhance recovery.
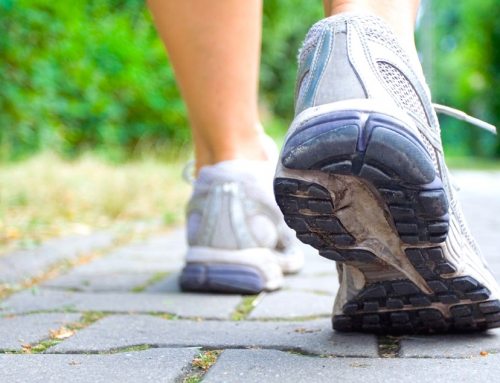
Follow this simple routine and see the results for yourself. You need a foam roller and a small firm ball such as a lacrosse or tennis ball. Rolling for as little as 5-10 minutes after exercise can have a positive impact.
Suggested Target Areas
Quads
Place the foam roller under your quad and roll from the top of your hip toward your knee. Roll slightly from side-to-side to get the full muscle group. Roll slowly, stopping for a few breaths when you feel tightness, or a knot. Roll each leg separately.

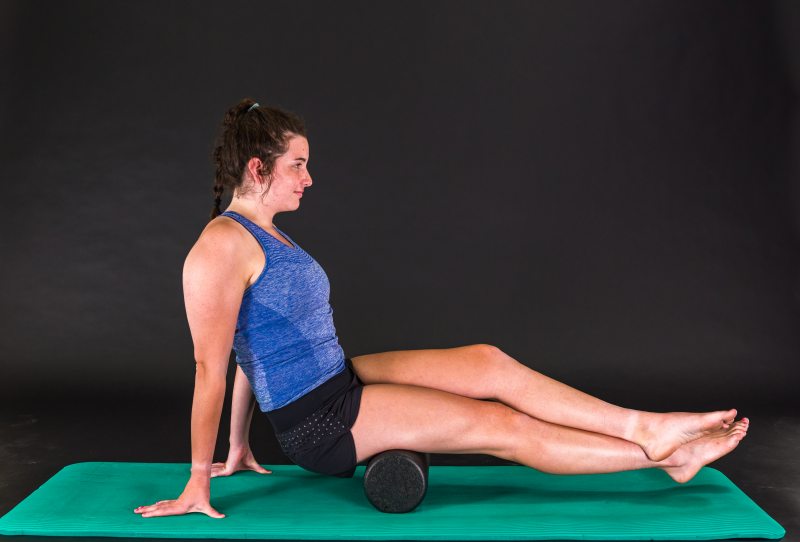
Hamstrings
Place the foam roller under your hamstrings and roll, one side at a time, from the top of your hamstring to just above the back of your knee. Roll from side-to-side to reach each part of your hamstring.
IT band
Place the foam roller under your hip and take time to align your hips and shoulders so they are on the same plane. Roll from the hip slowly to just above the kneecap, taking care not to roll on either joint. Roll slowly and pause when there is a tight feeling or a knot. Take 3 or 4 deep breaths to encourage release of the knot.
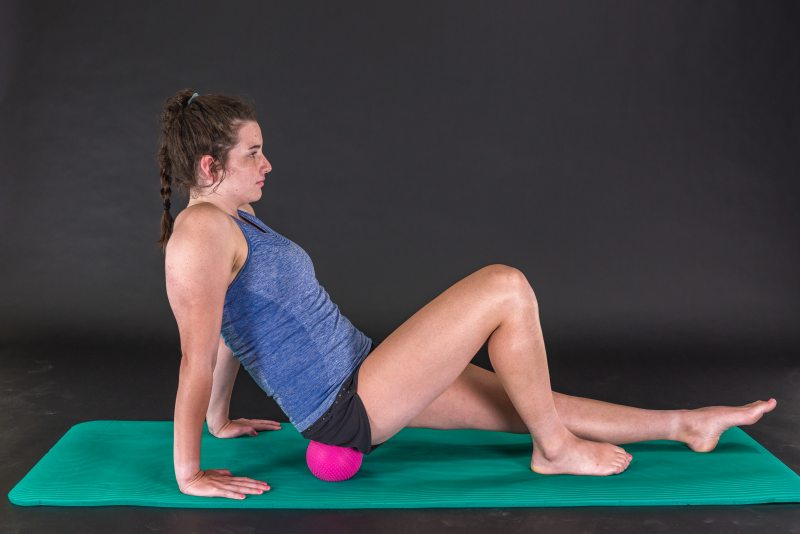
Glutes
Use a ball for the gluteal muscles to more easily roll from side-to-side. Roll one side at a time, and cross the leg not being used over the leg you are rolling for more release. The side-to-side rolling targets all parts of the muscle group.
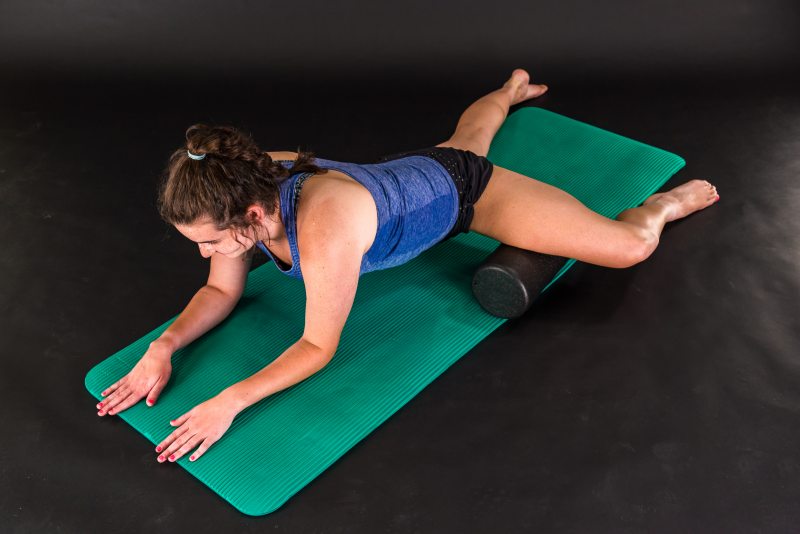
Inner Thighs
Make a 90-degree angle with your leg and put the foam roller under your thigh, parallel to your shin. Roll slowly from the top of your thigh to your knee, being careful not to roll onto your kneecap. The opposite leg should be straight and parallel to the long side of your mat.
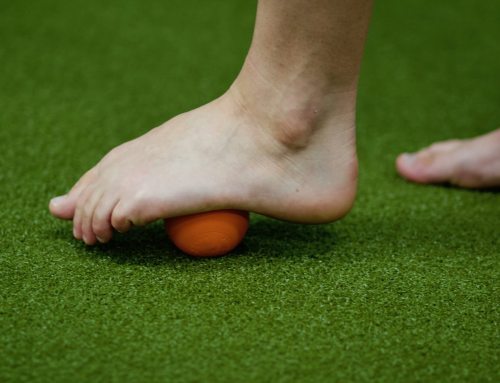
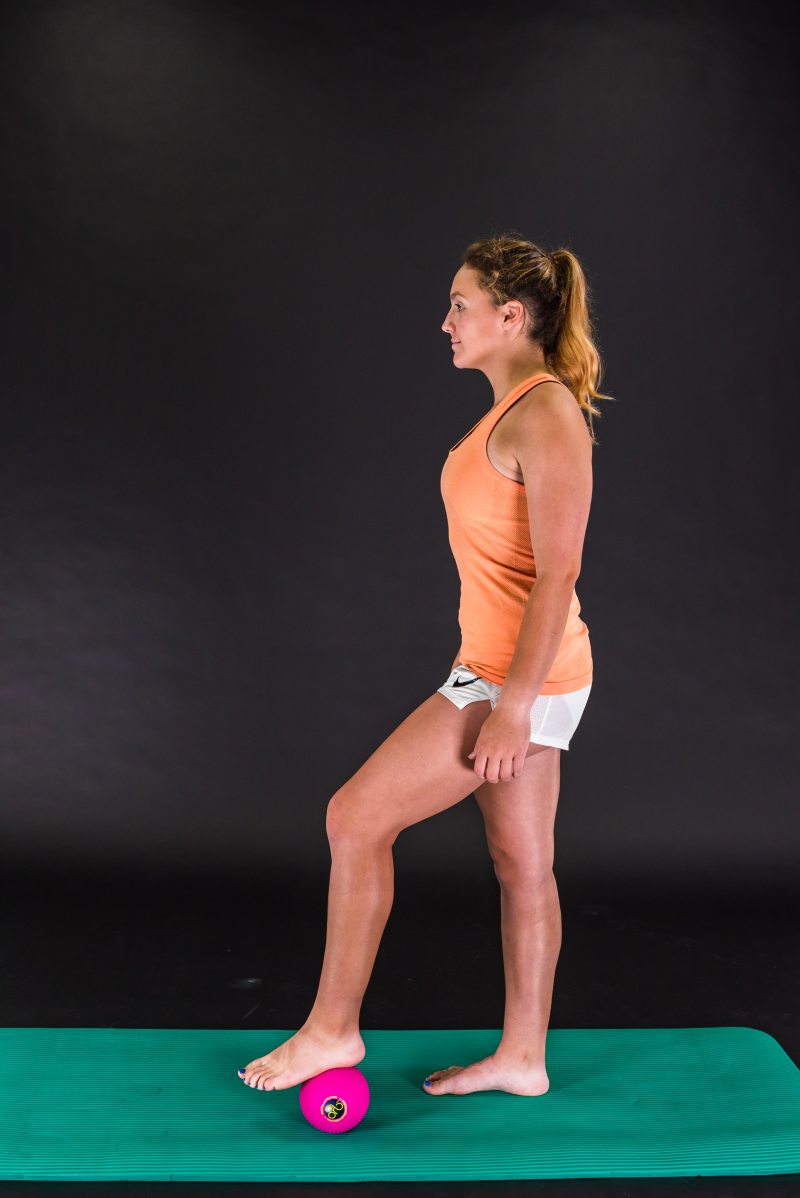
Feet
Place your foot on the foam ball and begin to slowly make circles with the ball in both directions, rolling from the top of your foot to your heel. Place as much of your body weight onto the ball as you can in order to open up the tight tissue on the bottom of your foot.
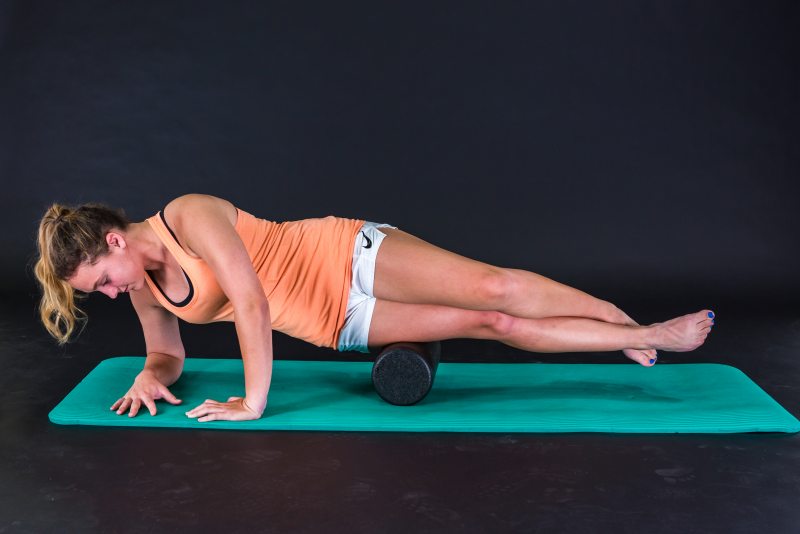
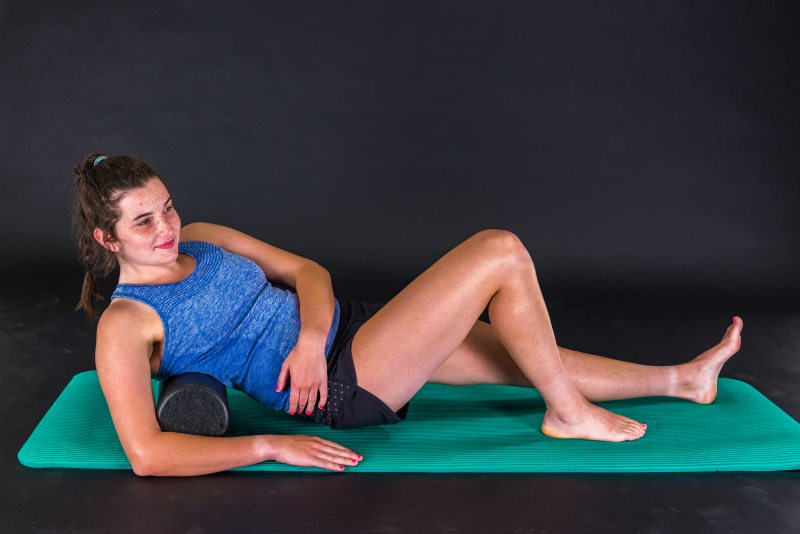
Back/Shoulders
Place the foam roller under your shoulder and lift your body into a partial side plank position. Roll from the top of your shoulder to your waistline avoiding your spine.
These seven exercises with the foam roller and foam ball should take 10-15 minutes. Take your time and pause slightly when there is tightness in a muscle in order for it to release. When done regularly, you will feel the results.
Sheri Branson is an instructor of Physical Education at Duke University and is finishing her Masters Degree in Nutrition. She holds a Masters Degree in Dance, has danced professionally, holds certifications in Pilates and yoga, and has coached for Girls on the Run. Sheri has spent much of her life doing marathons and triathlons, and now stays active hiking, biking, running, traveling, cooking, and volunteering with Habitat for Humanity.